Connecting Guesty to Staylonger
Last Updated: July 17, 2026
Table of Contents
Staylonger is Australia's platform for furnished mid-term rentals, with a minimum stay of 30 nights. This guide walks you through connecting Guesty to Staylonger, importing your listings, and setting long-stay discounts.
The whole process takes around 15–20 minutes. Rates, availability, descriptions and photos sync continuously from Guesty once connected.
Before you start
You'll need:
- A Guesty login with access to Distribution settings.
- Your Guesty master account email (found under Account → Settings → Company info — shown in Part 3).
- An email address for your Staylonger host account.
Part 1 — Connect the Staylonger channel in Guesty
- In Guesty, go to Marketing and sales → Distribution. Find Staylonger in the channel directory and open it.
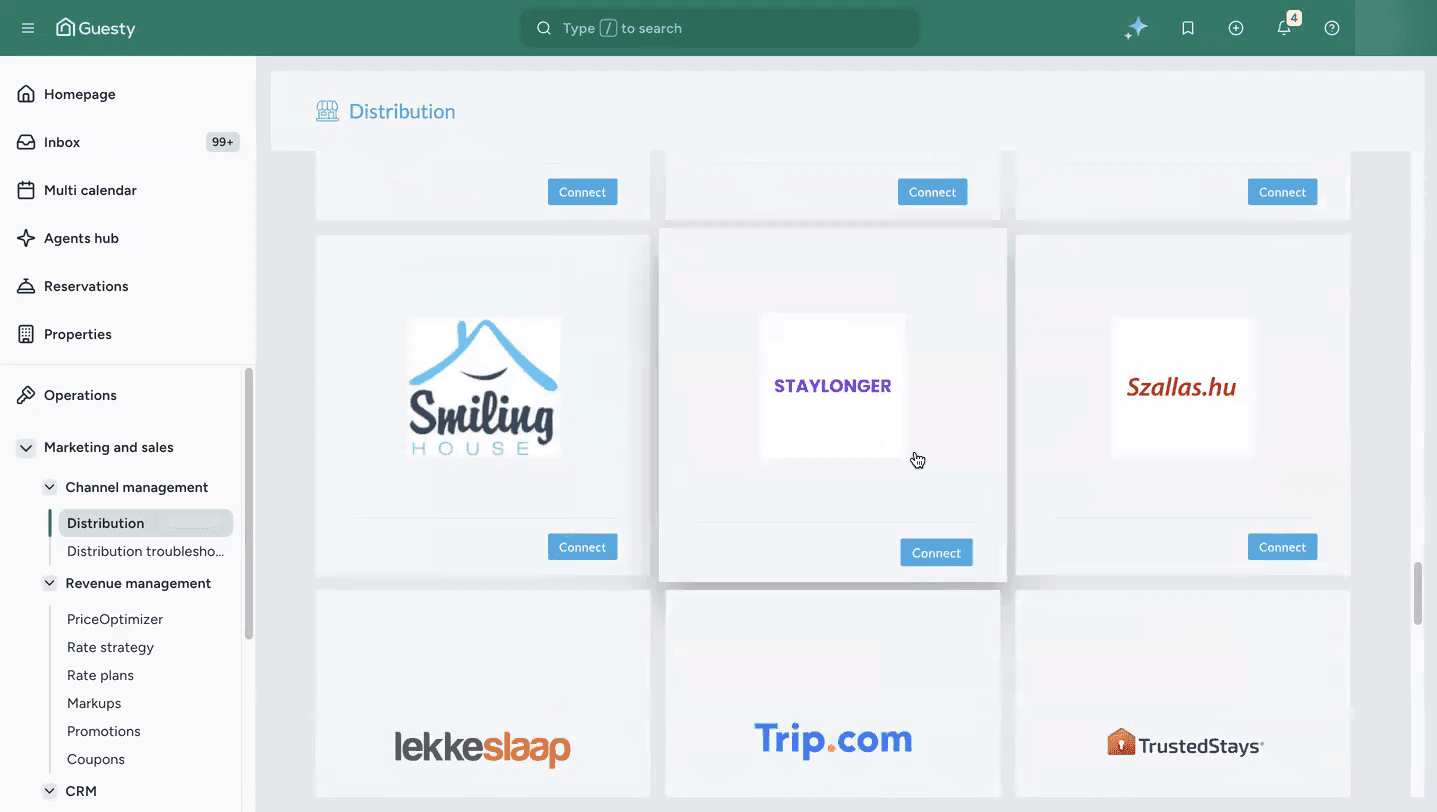
The Guesty Distribution directory — find Staylonger. - On the Staylonger channel page, click Connect to Staylonger (top right).
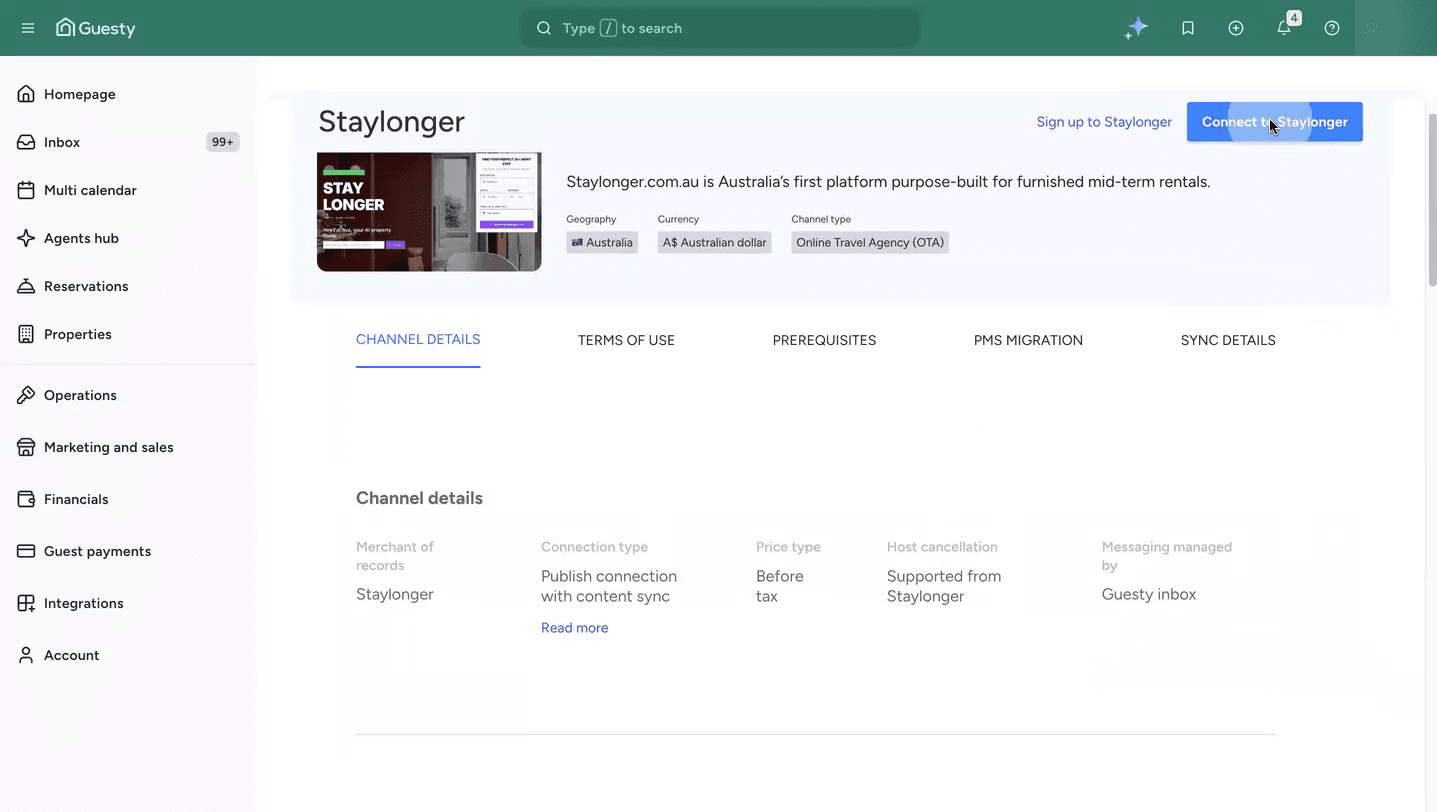
The Staylonger channel page in Guesty. - Follow the connection wizard: verify your account and set your cancellation policy for the listings you're about to connect.
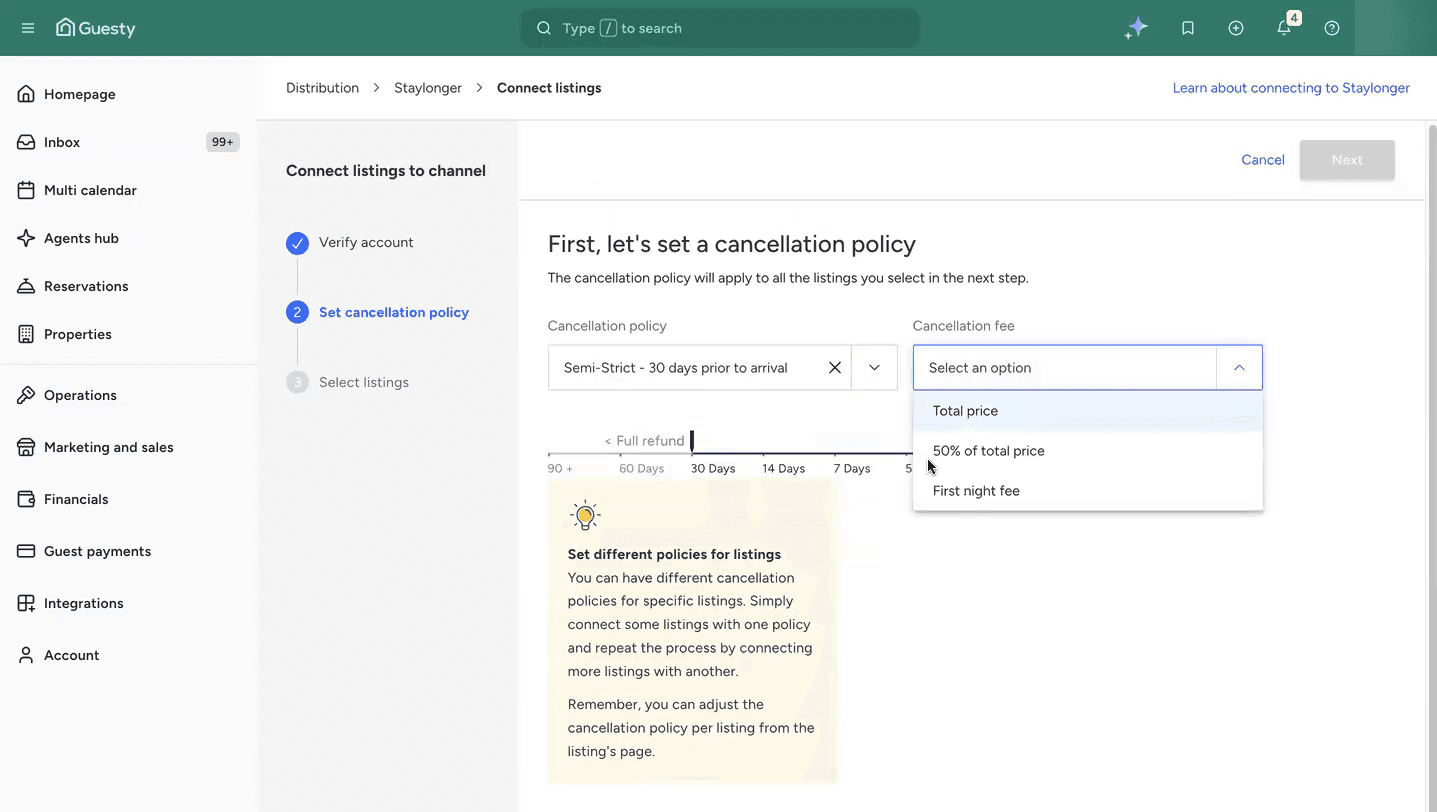
Set your cancellation policy in the connection wizard. - Select the listings you want to connect. You can start with one and connect more later.
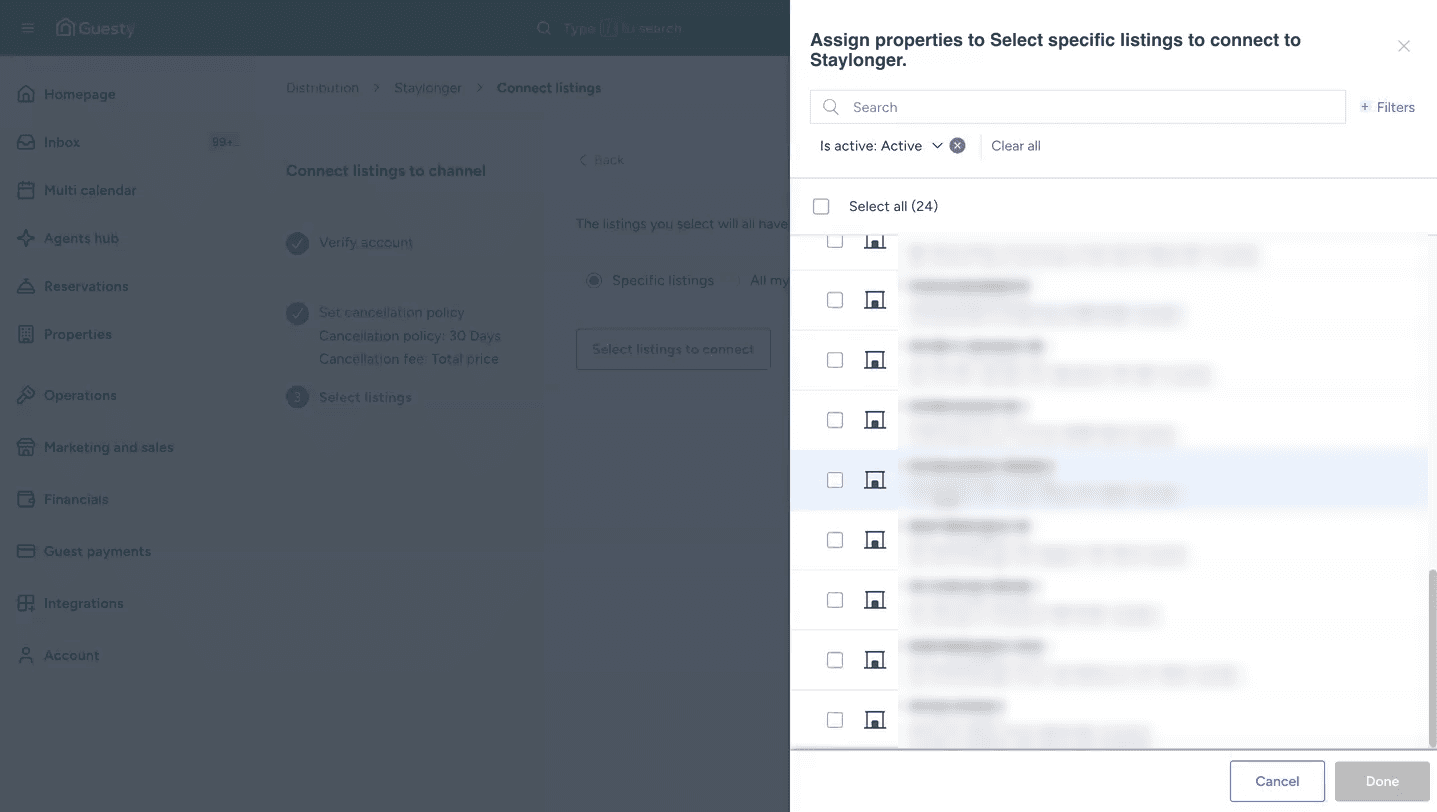
Choose which listings to connect to Staylonger. - Click Done. Listings show as "pending" until the connection completes on the Staylonger side.
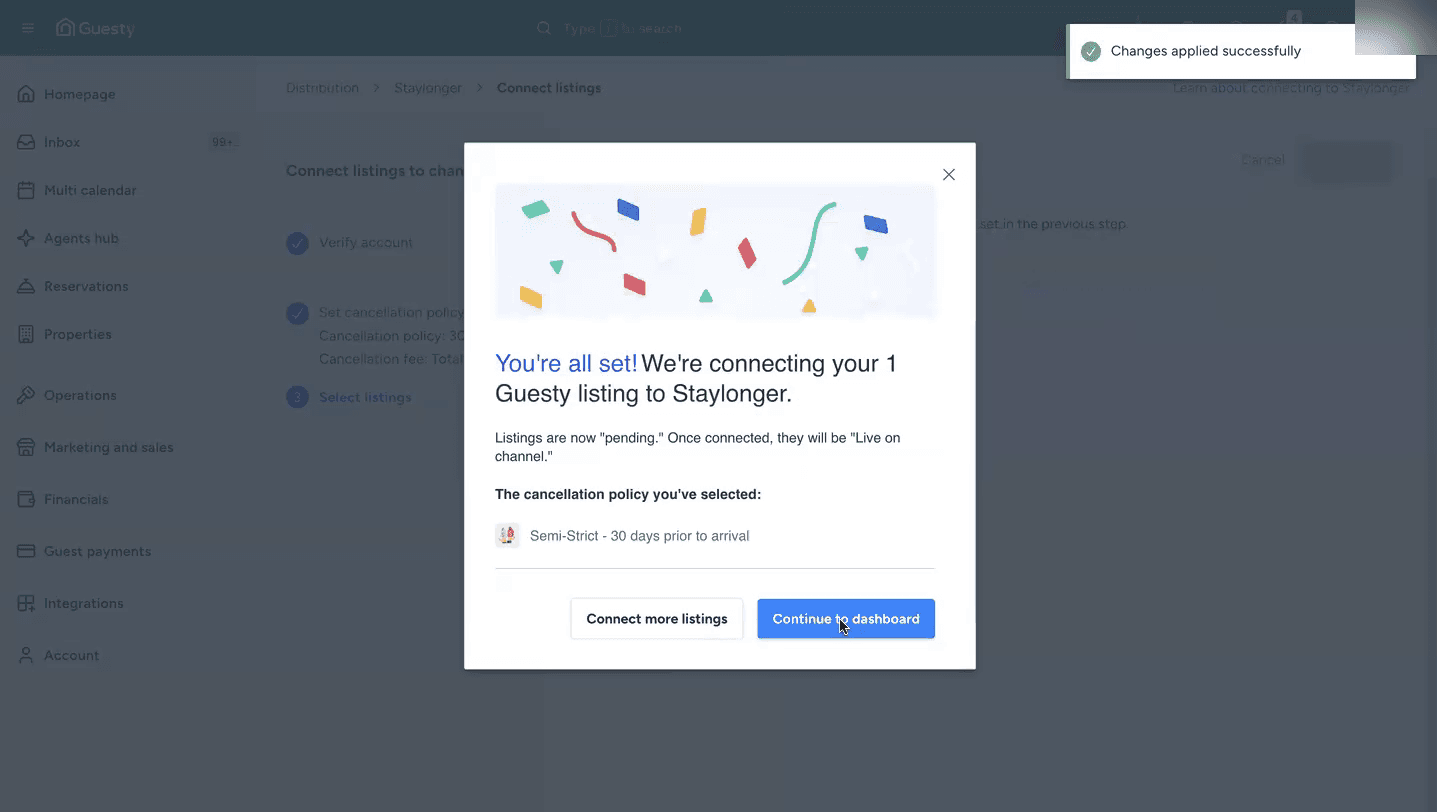
Connection confirmed on the Guesty side.
Part 2 — Create your Staylonger host account
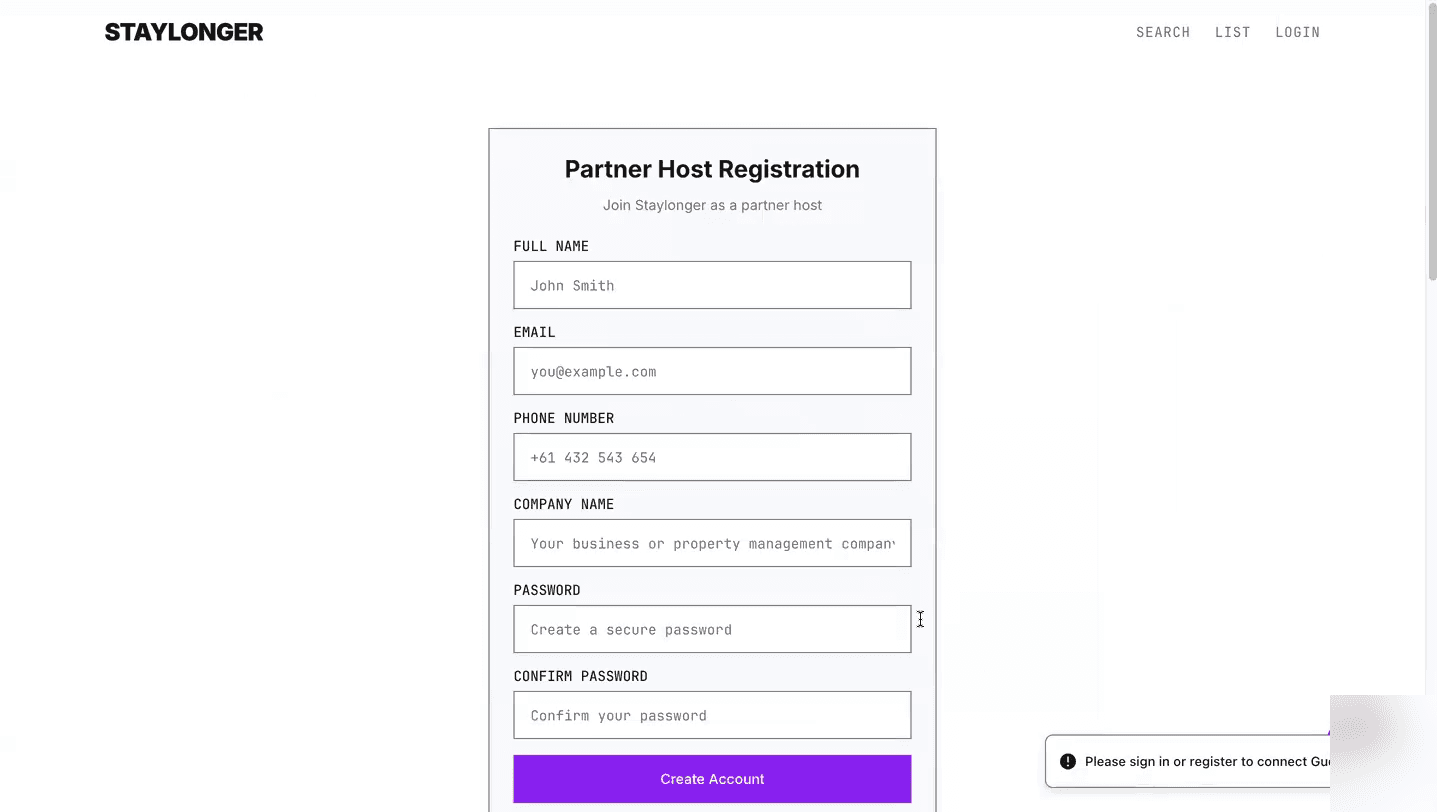
Open a new tab, go to staylonger.com.au, click Log in, then register as a partner host. Booking notifications will be sent to this email address.
Part 3 — Import your listings into Staylonger
- Once signed in, click Add Your First Property.
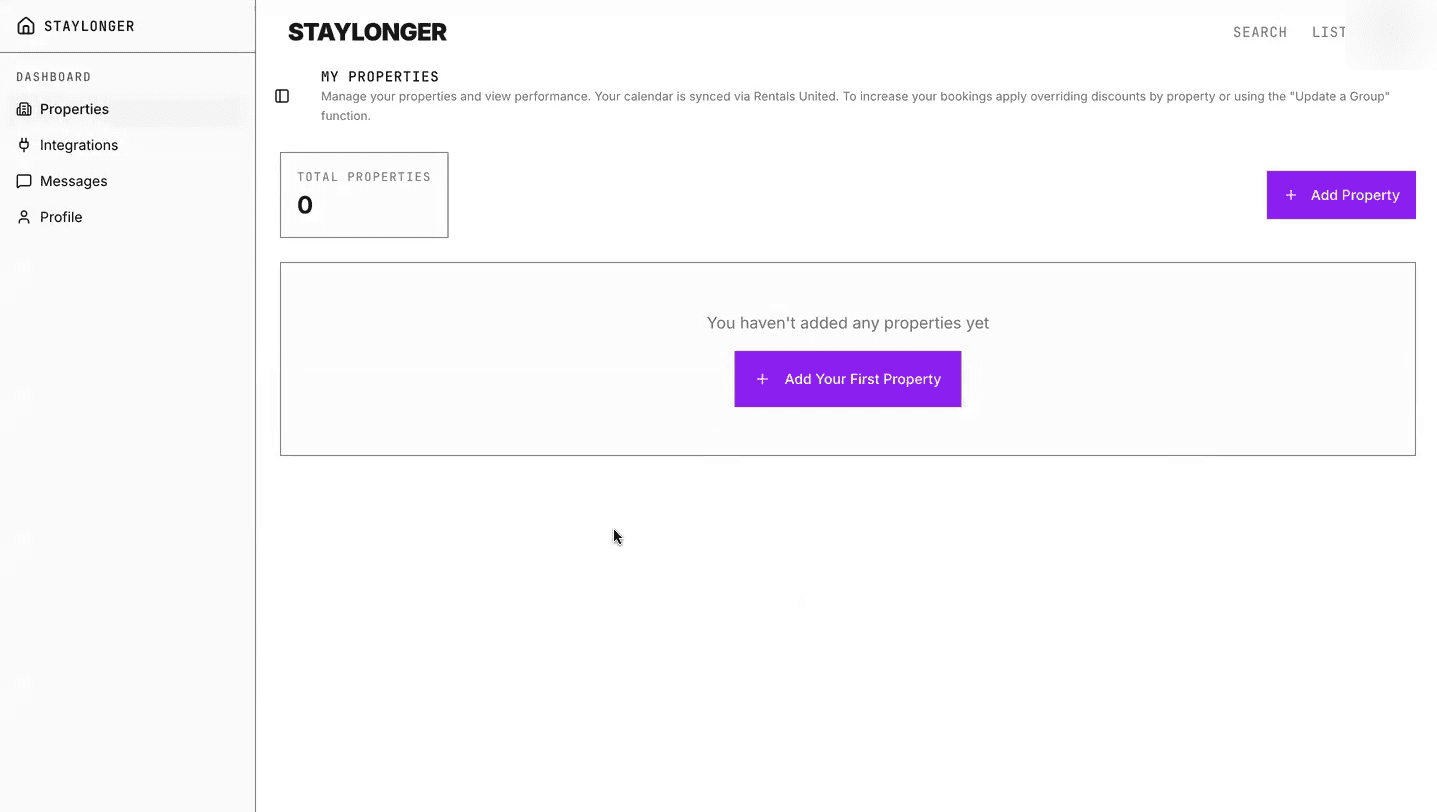
Add Your First Property from the Staylonger dashboard. - Choose Guesty as your property management system.
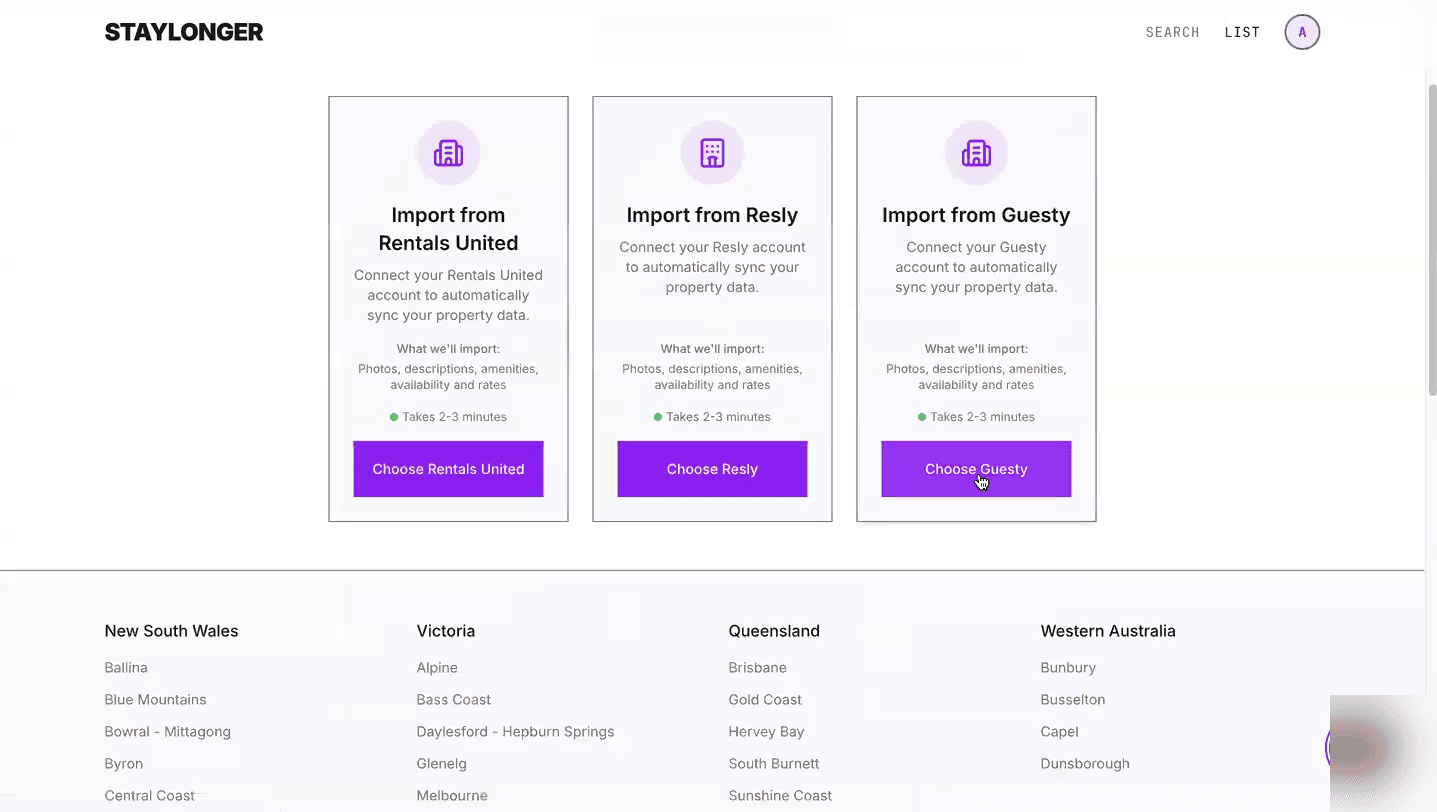
Choose Guesty as your property management system. - Enter your Guesty master account email. You can find it in Guesty under Account → Settings → Company info, in the contact details for billing section.
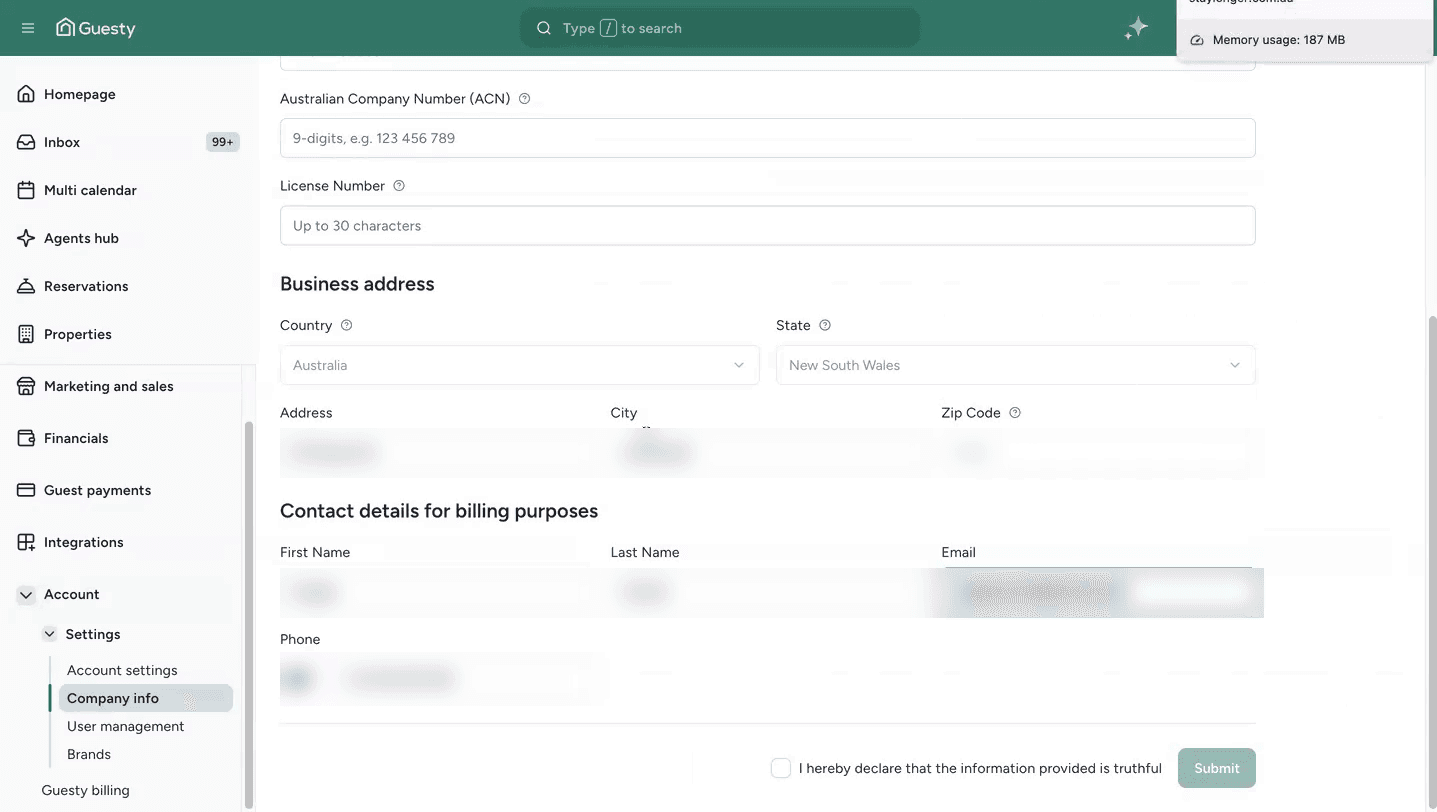
Company info in Guesty — use the billing contact email. - Click Connect Account. Your connected Guesty listings appear — select the ones to bring across and click Import Properties.
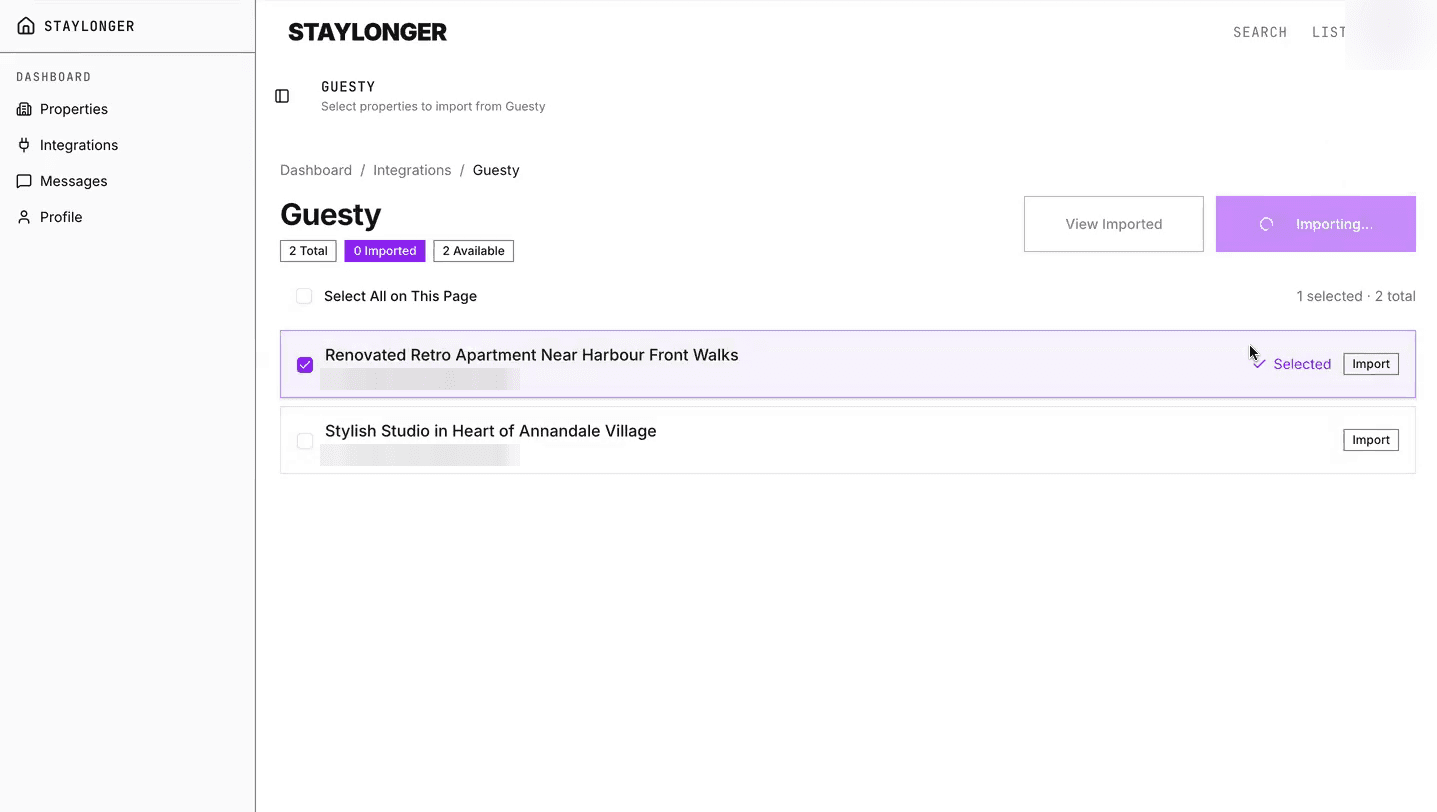
Select listings and click Import Properties. - Imported listings are marked accordingly. As you connect more listings in Guesty over time, they'll appear here automatically — just import them the same way.
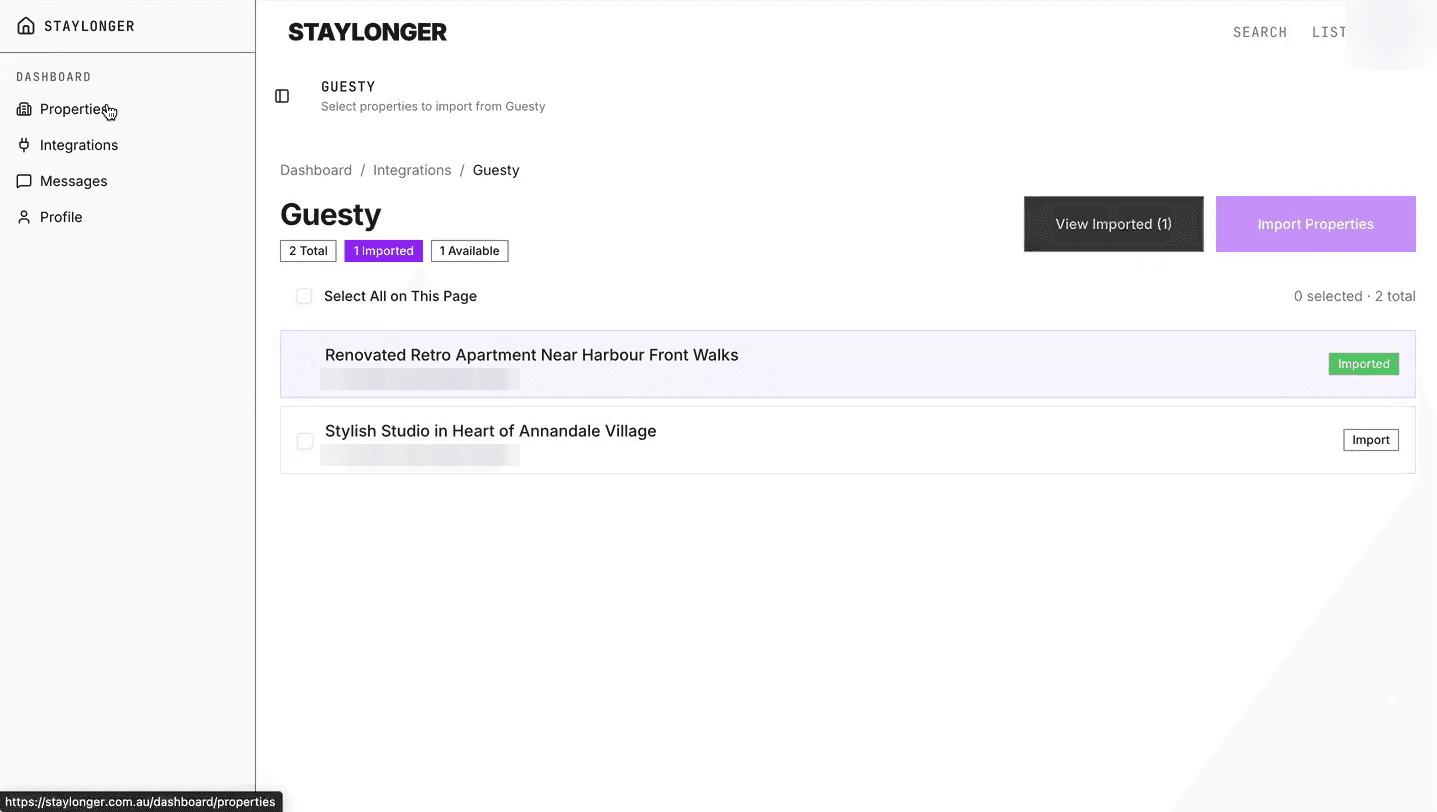
Your listing marked as Imported.
Part 4 — Set your long-stay discounts
Staylonger pulls your rates directly from Guesty, including any long-stay discounts you've configured there. Discounts you set on Staylonger are applied on top of the Guesty rate, and only affect Staylonger — no other channel.
- Go to Properties, expand your property with the arrow on the left, and click View Calendar.
- Nominate discount percentages for 30, 60, 90+ day stays and click Submit.
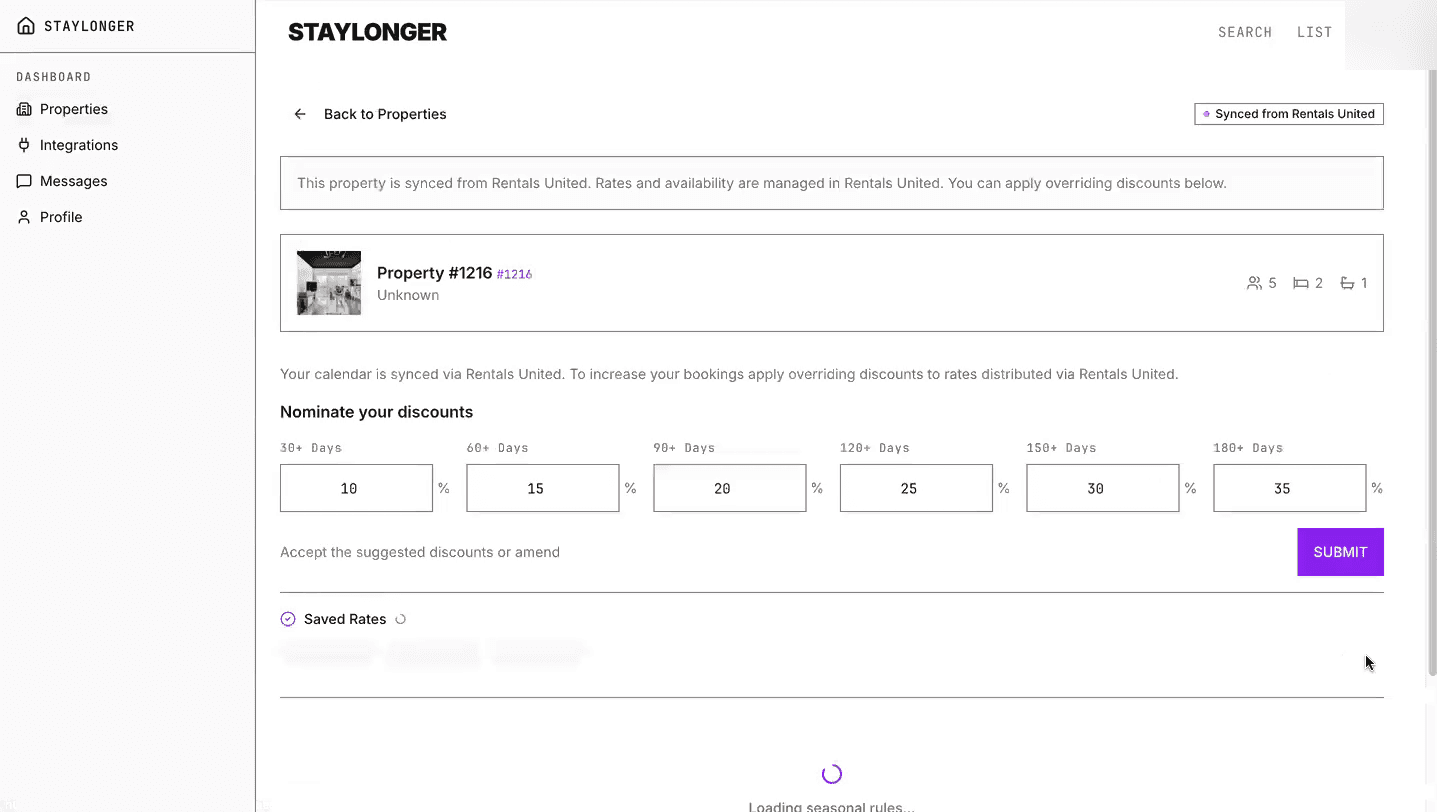
Nominate your discounts for longer stays. - Optionally add seasonal rules to cap discounts over peak periods — for example, a maximum discount of 5% over December.
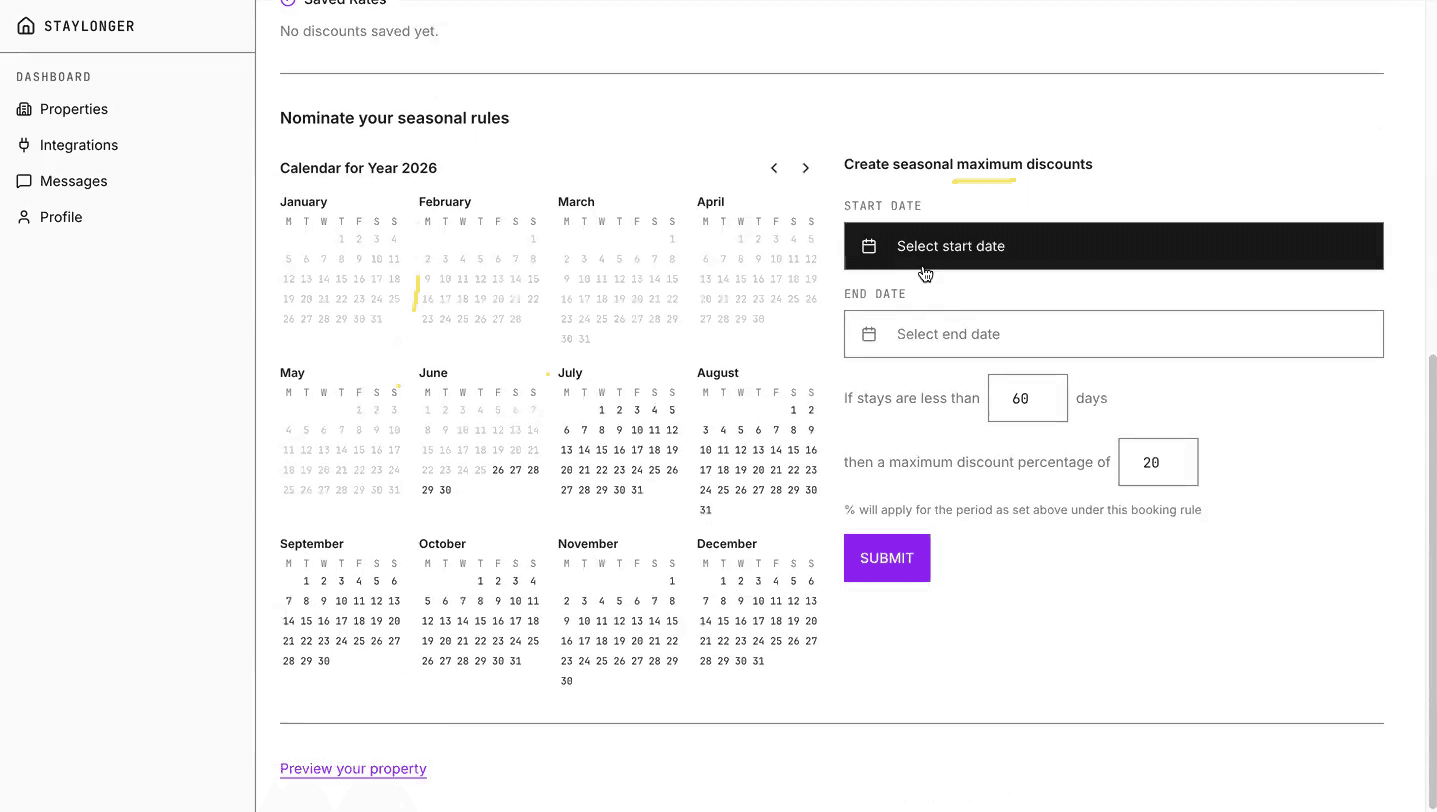
Seasonal rules — set a maximum discount for chosen dates.
Tip: To apply the same discounts across multiple properties at once, use the Update a Group tab on the Properties page.
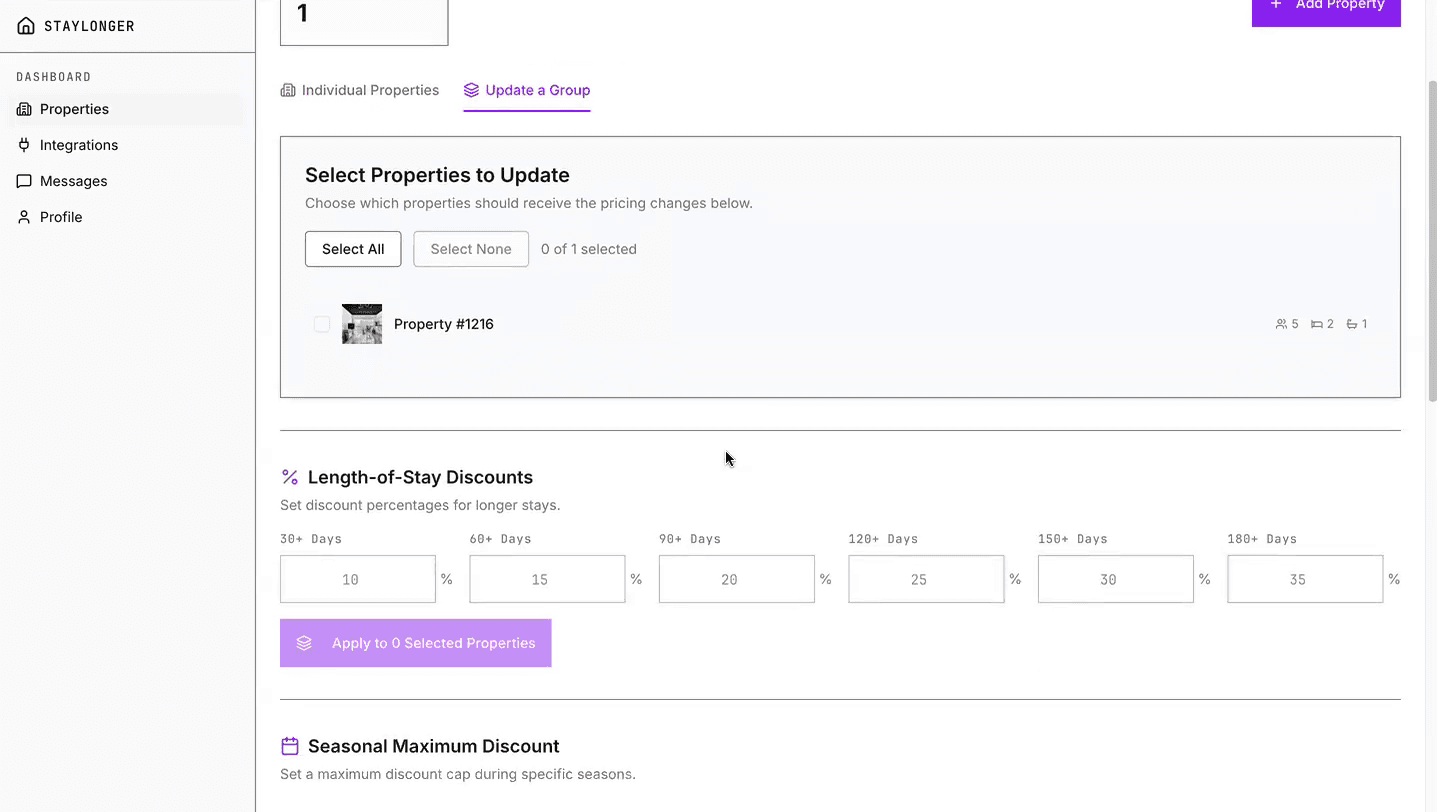
Part 5 — Preview and publish
- Scroll to the bottom of the calendar page and click Preview your property to see your live listing — photos, description and rates from Guesty, plus automatically generated local-area information (schools, transport and other details relevant to longer stays).
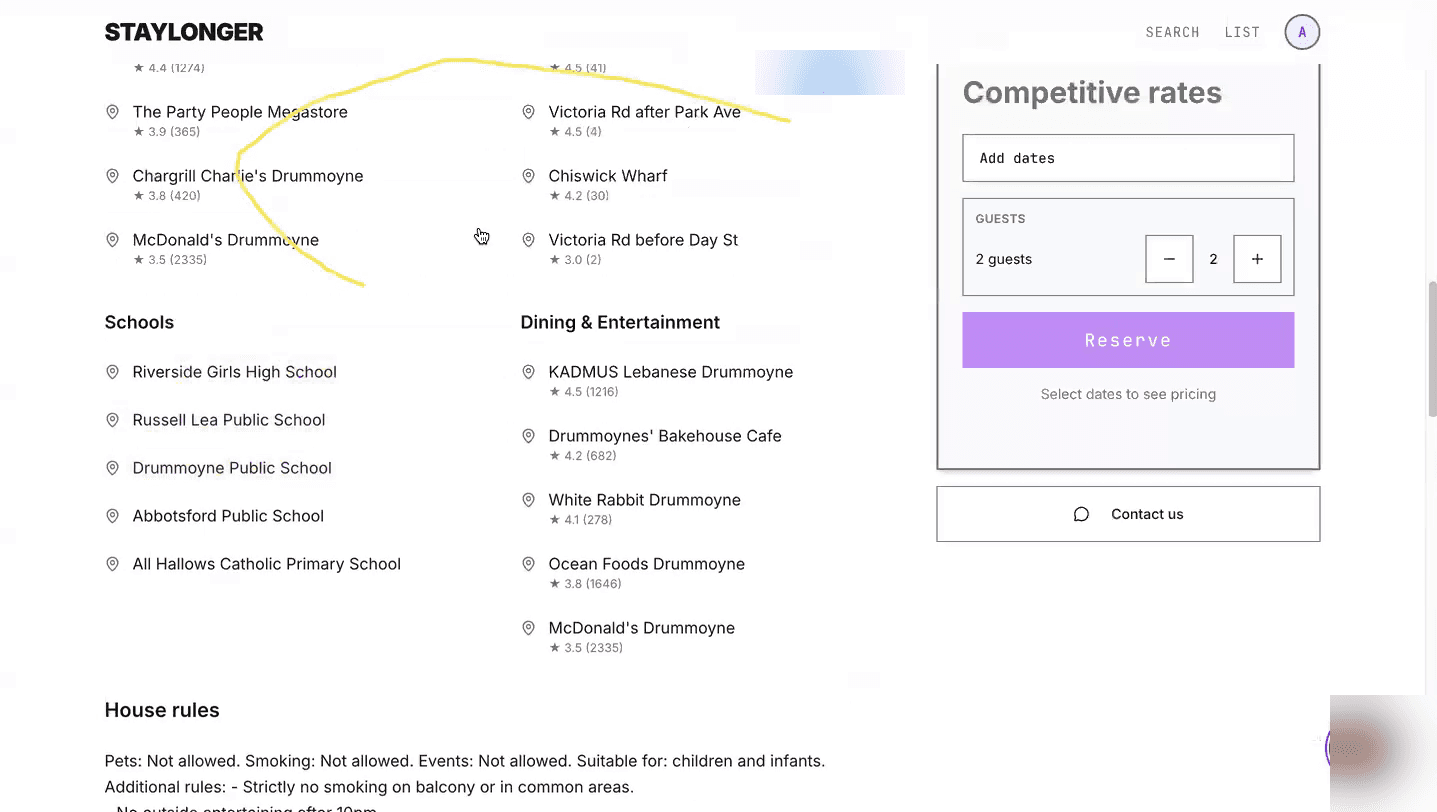
The listing page guests will see, including local-area information. - Imported listings start in Draft. When you're happy with how everything presents, switch the toggle on the Properties page to Published to make the listing live.
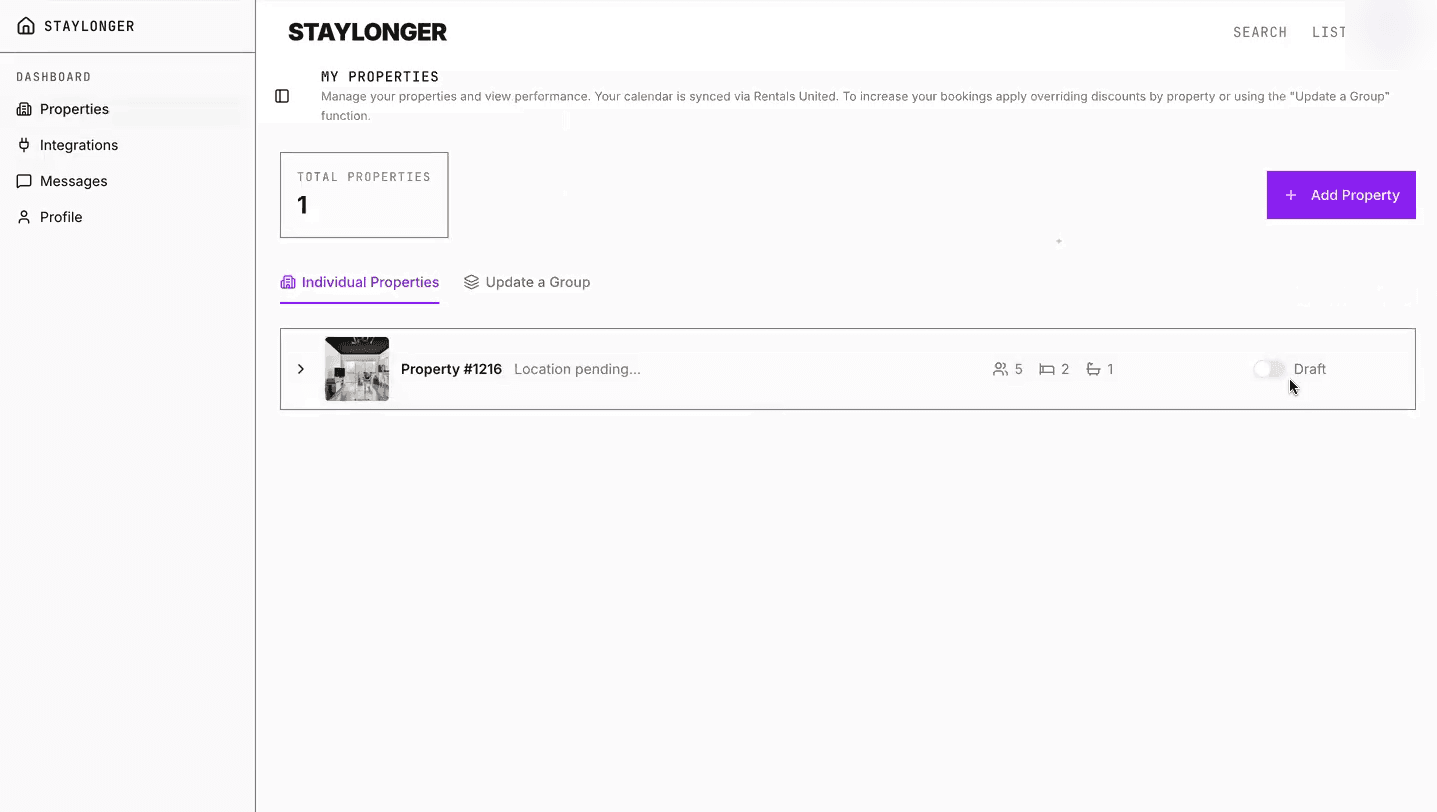
The Draft/Published toggle on the Properties page.
Managing the connection later
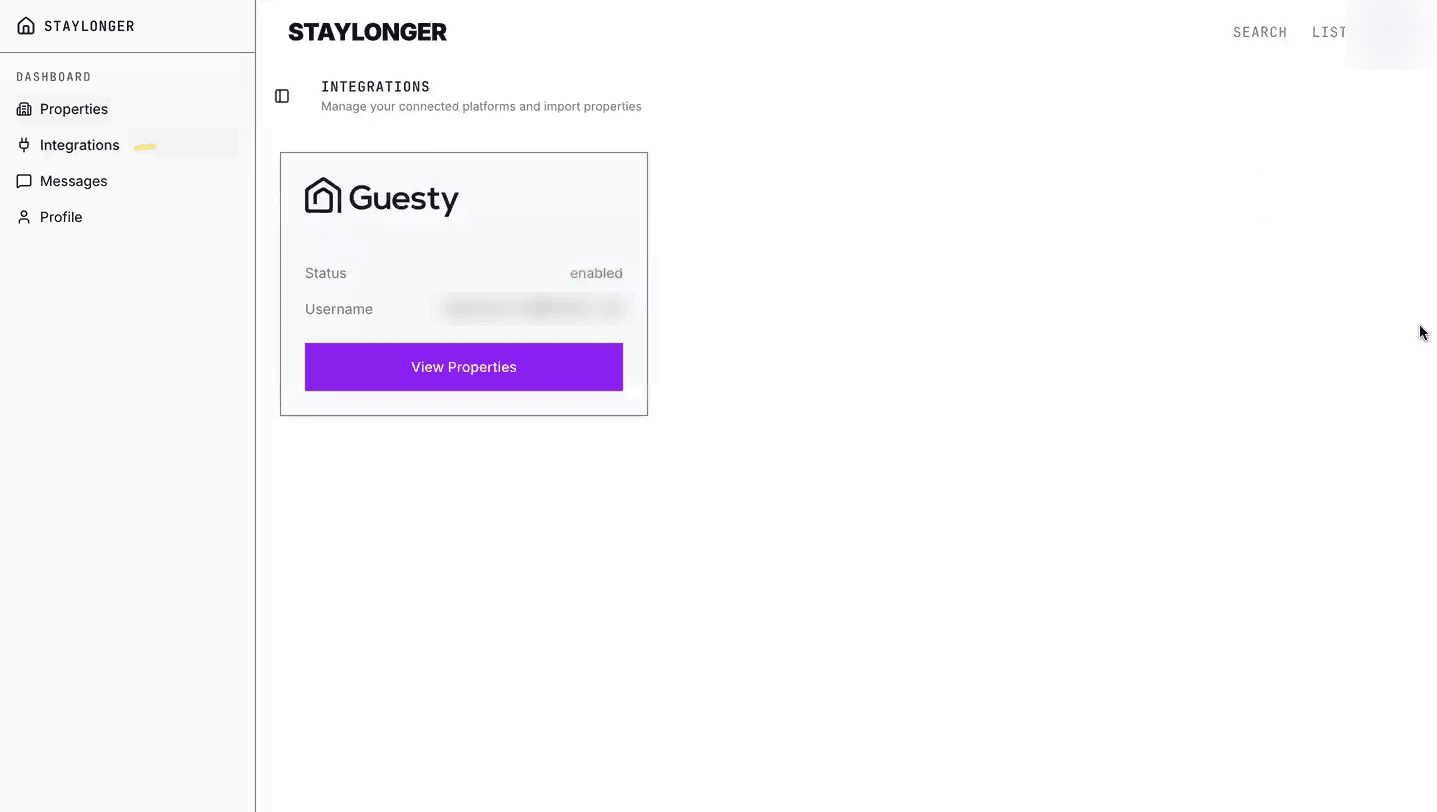
You can see the connection status and re-open the import screen at any time from Integrations in the Staylonger dashboard.
What happens next
- Your Staylonger contact will book a merchandising session to work through pricing and discount strategy before your listings go live.
- A test booking is placed with you before launch to confirm everything flows end-to-end.
- Minimum stay on Staylonger is 30 nights — it won't accept shorter bookings.
- Your property's map location comes from the latitude/longitude in Guesty. If the street shown on the preview looks wrong, check the pin position on your Guesty listing.
- Booking notifications are sent to your Staylonger account email.
Need a hand?
If anything doesn't look right — a property missing from the import list, rates not appearing, or a connection error — reply to your onboarding email or contact the Staylonger team and we'll walk it through with you on a quick call.